
How to Use Stories
Text Guide
- After you have done something, you should Sign In to the Makerble Website to share the progress that you have made. This is shared with various individuals
- This is fantastic because:
- It enables the core team to see the progress being made
- It inspires and encourages other people across the network
- It gives you a record of everything you’ve achieved in one place
- It can be difficult to report to funders on campaign achievements but having this fantastic visibility over Progress gives us something to shout about so that we can secure more funding and celebrate the work that we all do
- Steps:
- 1. Click ‘Make New’. This button appears in the top right corner every page of the site
- 2. Once the sub-menu opens for Make New, click ‘Make A Story’
- 3. Once there you can select which project you are writing a new story for
- 4. Next, you can include the Progress you have made. The measures of process that your Organisation uses have been pre-selected and added in to the story form. On the right hand side you can add in your progress in the numerical box. E.g. add a 1 to show that 1 Group Meeting was held.
- 5. You can add Participants to a Participation metric by choosing from the list of Participants of your project attached to that metric. If you don’t want to add any, leave it blank.
- Search for one participant
- Select Participants
- To add a participant NOT attached to a participant metric, but to the story in general, scroll down and click the 'Who Else is this Story About' button in the bottom left corner
- 6. You can optionally add other details of progress if needed
- Text or an anecdote
- The Location
- Attachments
- Unexpected Outcomes (unlikely to need this)
- Add a Participant to the story (as above)
- . When you have finished adding in your story, click ‘Publish Now’
- 8. When you finish writing a new story, you will be taken to the Show Story page. On this page:
- You can see that your story was successfully created.
- You can see the name of your project and your Organisation.
- You can also see the Participants in the story
Image Guide

1. Click ‘Make New’ as demonstrated
2. Once the sub-menu opens for Make New, click ‘Make A Story’

3. Here you can see to which project you are writing a new story.

4. Next, you can include the Progress you have made. The measures of process that your Organisation uses have been pre-selected and added in to the story form. On the right hand side you can add in your progress in the numerical box. E.g. add a 1 to show that 1 Group Meeting was held.

5. You can add Participants to a Participation metric by choosing from the list of Participants of your project attached to that metric. If you don’t want to add any, leave it blank.
Search for one participant as indicated
Select Participants as required by checking the box highlighted
To add a participant NOT attached to a participant metric, but to the story in general scroll down and click the 'Who Else is this Story About' button in the bottom left corner

6. You can optionally add other details of progress if needed, as demonstrated here
Text or an anecdote
The Location
Attachments
Unexpected Outcomes (unlikely to need this)
Add a Participant to the story (as above)
. When you have finished adding in your story, click ‘Publish Now’ as circled
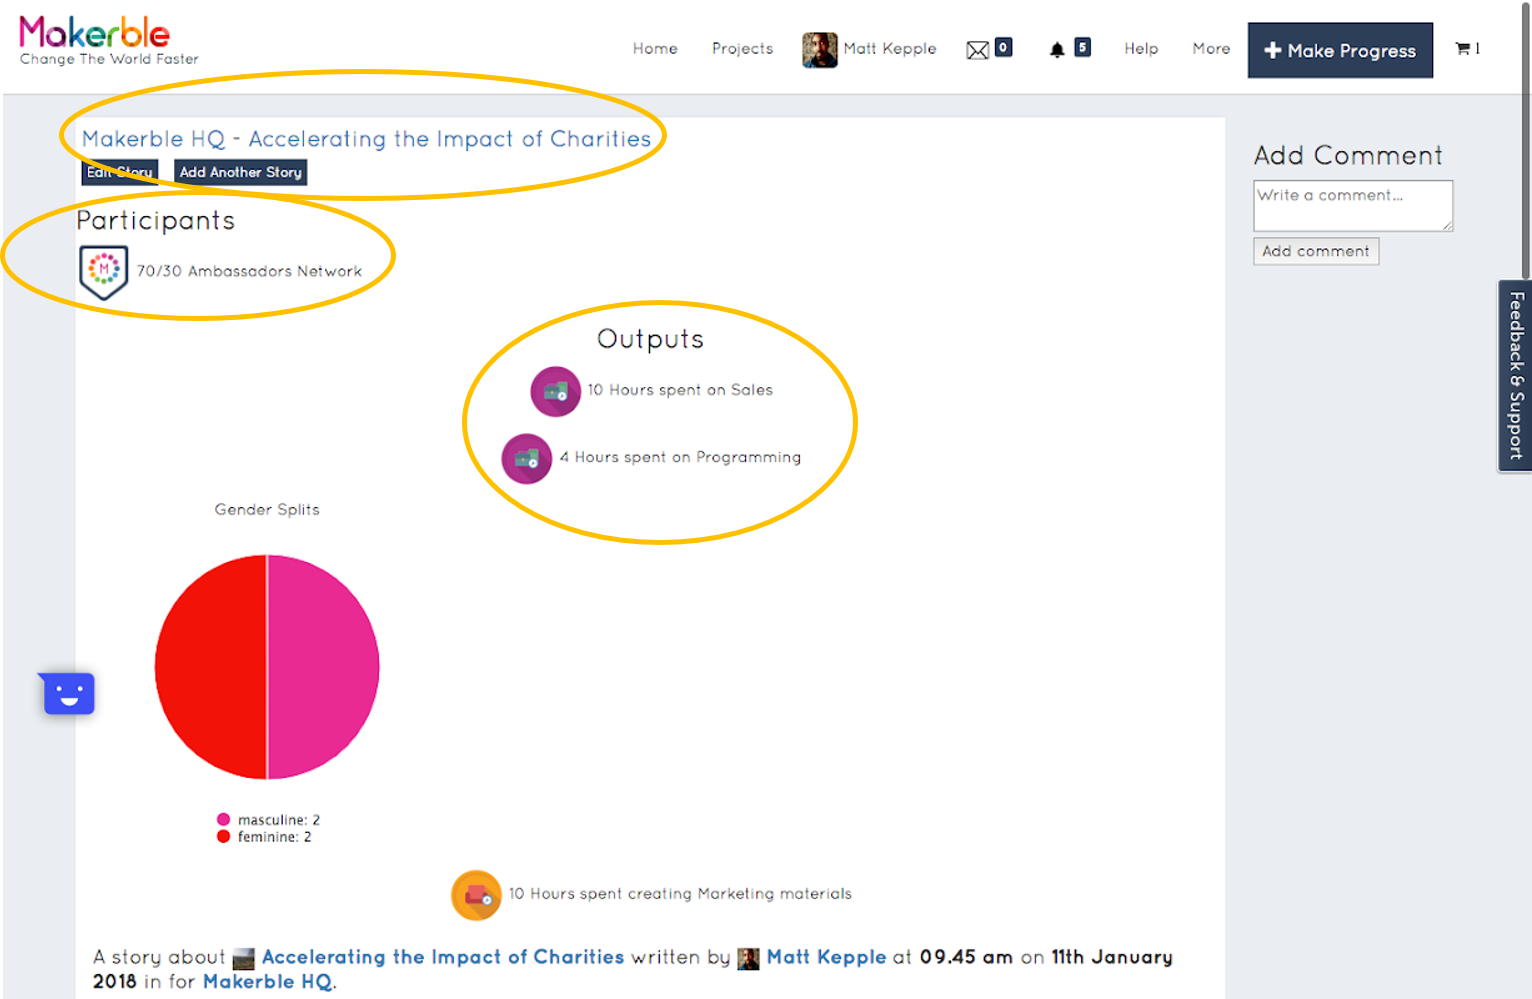
8. When you finish writing a new story, you will be taken to the Show Story page. As demonstrated, on this page:
You can see that your story was successfully created.
You can see the name of your project and your Organisation.
You can also see the Participants in the story
PDF Guide
Want a PDF guide to using stories? How to Use Stories